1. Surface Preparation: The Decisive Step
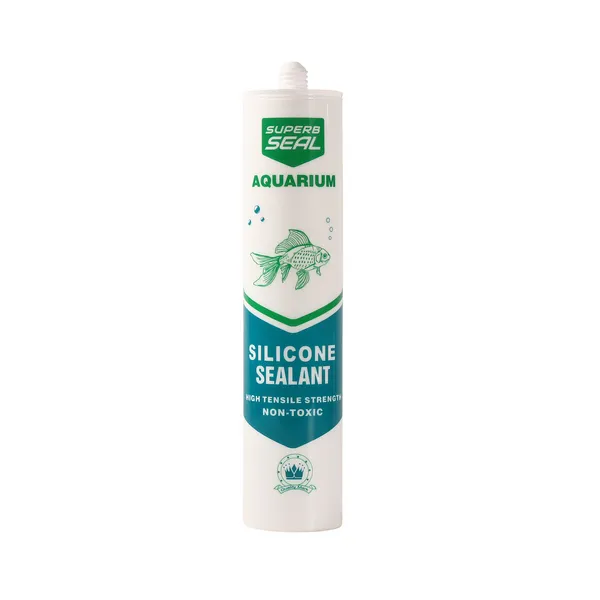
The success of your project depends on cleanliness. Any residue will cause the aquarium sealant to fail.
Remove Old Residue: Scrape away every trace of old silicone. Never apply new sealant over old material.
Deep Clean: Wipe glass edges with alcohol or acetone until the cloth comes away spotless.
Stay Dry: Ensure all surfaces are 100% moisture-free.
Use Masking Tape: Apply tape along the joint edges to ensure a straight line and protect the glass from excess mess.
2. Application and Smoothing
Proper technique ensures the aquarium sealant penetrates deep into the joints.
Cut the Nozzle: Cut at a 45 angle. The opening should be slightly wider than the joint.
Apply Evenly: Use a caulking gun to “push” the sealant into the gap. Maintain a steady speed to avoid air bubbles or breaks.
Smooth the Joint: Use a gloved finger or scraper dipped in soapy water to press the sealant into the seam. Aim for a concave curve; this shape better disperses water pressure.
Peel Tape Early: Remove masking tape immediately after smoothing while the sealant is still wet.
3. Curing and Leak Testing
Patience is vital for structural integrity.
Curing Time: Let the aquarium sealant sit in a ventilated area. While it skins over in 48 hours, it requires 3 days to reach maximum strength. Do not move the tank during this time.
Water Test: Once fully cured, fill the aquarium slowly with water.
Observation: Leave the tank full for at least 24 hours. Check all seams and the bottom for dampness.