
How to Reseal a Window Frame?
A failed window seal announces itself with draughts, rattles, water stains, and energy bills that climb each season. The fix takes under an hour per window and costs little more than a cartridge of weatherproof sealant. You do not need special skills. You do need the right sequence: strip the old bead completely, prep the joint, apply, and cure. Skip a step and the new seal fails early.
When a Window Frame Needs Resealing
Run a thumb along the existing bead. Cracks, splits, shrinkage gaps at the edges, powdery texture, and mould behind the line all tell the same story. The seal has reached end of life. A bead that lifts under light finger pressure has lost its bond. Outside, check after heavy rain for damp patches on the sill or wall below. A quality bead has a limited service life. Our guide on how long weatherproof sealant lasts gives the expected numbers for each location.
Choosing the Right Weatherproof Sealant
Match the product to the frame. Exterior perimeters and glazing joints need a UV-stable, neutral-cure option such as General Purpose Silicone Sealant. Painted trim that still needs to flex calls for a hybrid MS Polymer Sealant, because pure silicone rejects paint. For interior trim in dry rooms, paintable Acrylic Caulk keeps the finish seamless. Check the label for the temperature range before you start.
What You Need
Assemble the tools before you strip anything. You need a utility knife, a scraper, rubbing alcohol, clean cloths, painter’s tape, and a caulking gun. Keep a tooling spoon and backer rod nearby for joints deeper than 12 mm. Working with everything at hand keeps the job smooth and the bead consistent.
How to Reseal the Frame Step by Step
Step 1: Remove the Old Sealant
Score along both edges of the old bead with the utility knife. Then lift it away in strips with the scraper. Remove every fragment, because fresh sealant cannot bond over cured material. A residue line is the most common cause of an early leak.
Step 2: Clean and Tape the Joint
Wipe the joint with rubbing alcohol and let it dry fully. Dust and grease kill adhesion. Run painter’s tape along both sides of the joint and leave the gap exposed. The new bead then cures with clean, straight edges.
Step 3: Apply and Tool the Bead
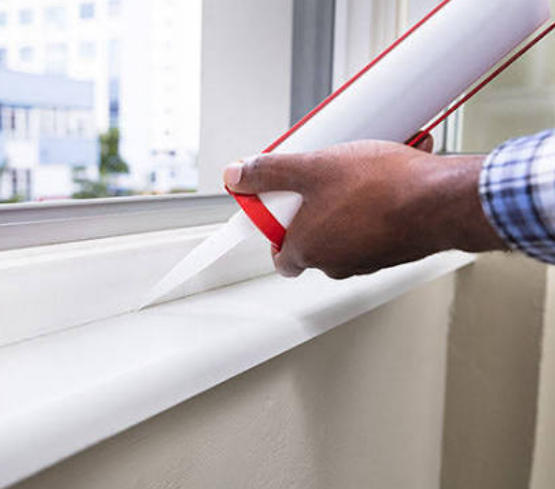
Cut the nozzle at 45 degrees to match the bead width and load the cartridge. Lay one continuous bead along the joint, keeping steady pressure so the line fills without gaps. Tool the bead with a wet spoon within 10 minutes, before it skins over. Pull the tape away while the sealant is still wet.
Step 4: Cure Before Exposure
The bead skins over in 30 minutes to 3 hours and sheds light rain in 2 to 4 hours. It needs a full cure to reach waterproof strength. Keep water, paint, and loads off the joint for at least 24 hours. Our guide on how long weatherproof sealant takes to dry breaks down the timelines by sealant type.