
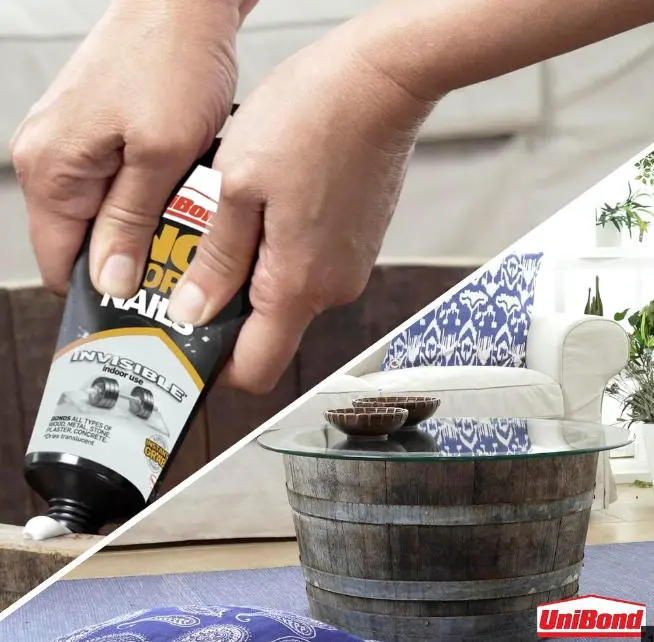
How Do You Use No More Nails?
Surface Prep, Bead Pattern, and Cure
No More Nails is a grab adhesive that bonds without screws or clamps. The job looks simple, but the result depends on surface preparation, bead size, and patience during cure. Contractors who follow the same four steps every time get consistent, long-term bonds. This guide shows you how do you use No More Nails on typical interior jobs.
Prepare Both Surfaces First
Clean both mating surfaces before you open the tube. Dust, grease, silicone residue, and loose paint act as release films. Wipe the area with isopropyl alcohol or methylated spirits and let it flash off. For glossy paint or glazed tile, lightly abrade the surface with fine sandpaper. A 120-grit pass gives the adhesive enough mechanical key without visible damage. Remove sanding dust with a clean, dry cloth. The bond is only as strong as the surface beneath it.
Cut the Nozzle to the Right Bead Size
Cut the nozzle at a 45-degree angle to match the joint width. For general trim and skirting, a 5 mm bead gives adequate coverage without squeeze-out. For heavier items such as dado rails or small shelves, open the nozzle to 8 mm and lay a thicker bead. Use the nozzle to trace the line; do not rely on finger spreading. A continuous bead with no gaps distributes load evenly across the joint. If the bead breaks, start the line again from the break point.
Apply the Bead and Press the Joint
Load the cartridge into a standard skeleton gun. Apply a product such as Unibond No More Nails in a wavy or straight bead, depending on the manufacturer’s instructions. Press the workpiece into place with firm, even pressure. Twist it slightly from side to side to collapse the bead and eliminate air pockets. Then pull it away for a few seconds and press it back. This contact-and-release action helps the adhesive wet both surfaces fully. Wipe excess adhesive immediately with a damp cloth before skin-over begins.
Support the Joint Until Handling Strength
Do not remove support props until the adhesive reaches handling strength. For most interior applications, this takes 12 to 24 hours at room temperature. Heavier items or cold rooms need the full 24 hours. In damp or exterior installations, standard grab adhesive can slump or take longer to cure. Switch to a hybrid such as MS Polymer Sealant for wet areas, outdoor cladding, or joints that see movement. For stone panels, countertops, or structural loads, use a dedicated product such as Marble Glue and mechanical fixings. Adhesive alone is not a substitute for screws on heavy dead loads.
Bottom Line
Using No More Nails correctly means clean surfaces, the right bead size, firm pressure, and support until handling strength. Skip any step and you risk creep, squeeze-out, or bond failure. For wet, cold, or load-bearing work, choose a product rated for the environment. Follow the data sheet and the joint will hold as intended.