
How Do You Apply High Grab Adhesive Correctly?
You apply a high grab adhesive in beads of 3 to 5 mm. Surfaces must be clean and dust free. Press the component into place for 30 seconds. The bond holds immediately. Most site failures come from an oversize bead, a dirty surface, or early loading. The steps below remove all three risks.
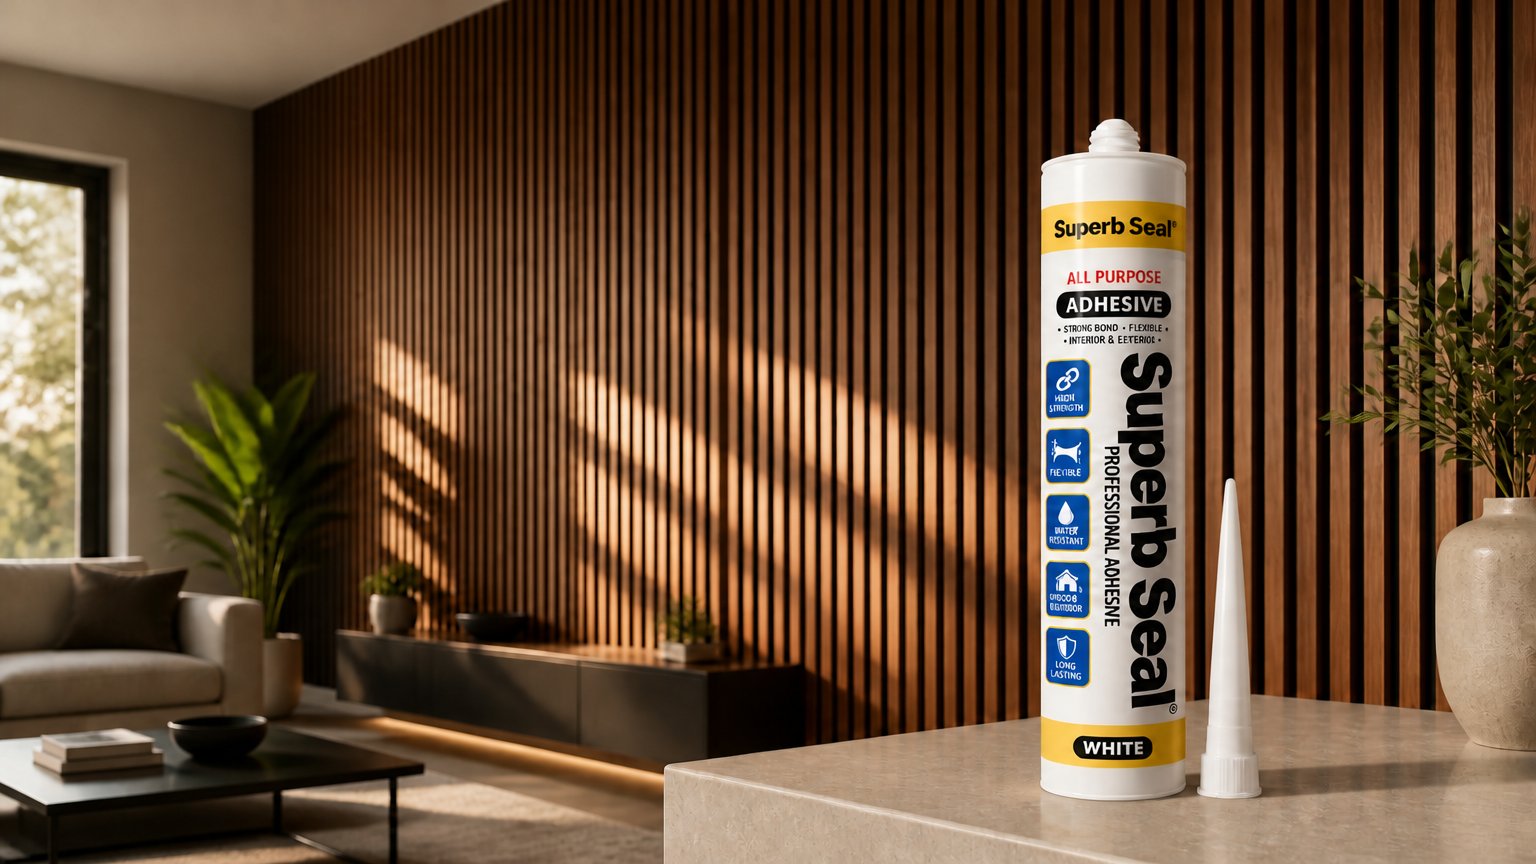
Applying High Grab Adhesive: The Six-Step Method
Step 1: Prepare the Surfaces
Wipe both faces with a cloth and mild solvent. Let them dry. Grease, dust, and loose paint cause most pull-off failures. Porous substrates such as timber, MDF, and plaster need no primer. Dense surfaces like glazed tile or painted metal benefit from a light abrasion. The scuff gives the bead a key.
Step 2: Cut the Nozzle
Trim the nozzle at 45 degrees, slightly narrower than the target bead. The angled cut runs cleanly into corners. Puncture the foil seal and load the cartridge into a dripless gun. Squeeze until the bead reaches the nozzle tip. A quality high grab adhesive flows without lumping at this stage.
Step 3: Lay the Bead
Apply vertical beads every 20 to 30 cm across the back of the component. Alternatively, run one continuous bead around the perimeter. Keep each bead at 3 to 5 mm. A fat bead cures slowly and adds nothing to grab strength. The bond develops at the contact faces, not inside the mass. For heavy panels, two thin beads beat one thick one.
Step 4: Press and Hold
Press the component into position within 5 minutes. Hold firm for 30 seconds. Quality products deliver instant grab of 200 to 400 kg/m² on porous substrates. That figure comes from manufacturer data sheets, checked September 2026. It is enough to hold a skirting board or trim without bracing. On overhead work, add temporary fixings until the cure completes.
Step 5: Respect the Cure Window
Handling strength builds in 24 hours. Full cure takes 48 to 72 hours. The exact time depends on substrate and temperature. Do not load, wash, or sand the joint inside that window. Joints thicker than 5 mm need proportionally longer.
Step 6: Clean Up and Finish
Wipe excess adhesive off with a damp cloth before it skins. Once cured, remove it mechanically or with a dedicated remover. Where a joint also needs weather sealing, run a general purpose silicone sealant along the perimeter after full cure. For glass or metal bonding without primer, a MS polymer sealant is the better match.
The working summary is short. Clean surfaces. Beads at 3 to 5 mm. A firm 30-second press. No load for 48 hours. Follow those four rules and a high grab adhesive bond will outlast the component it holds.
Related Products
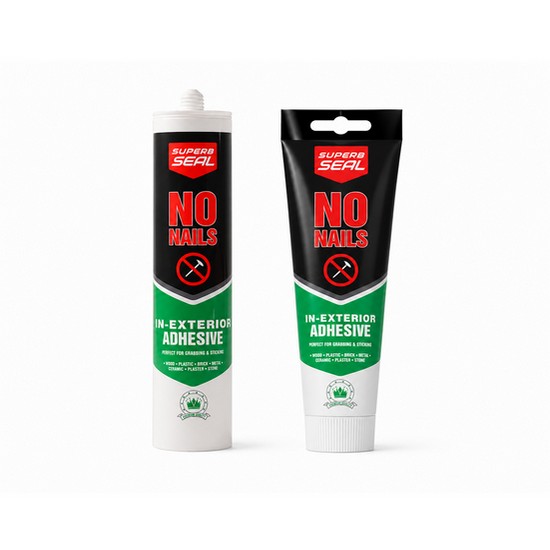 No More Nails High Grab Adhesive |
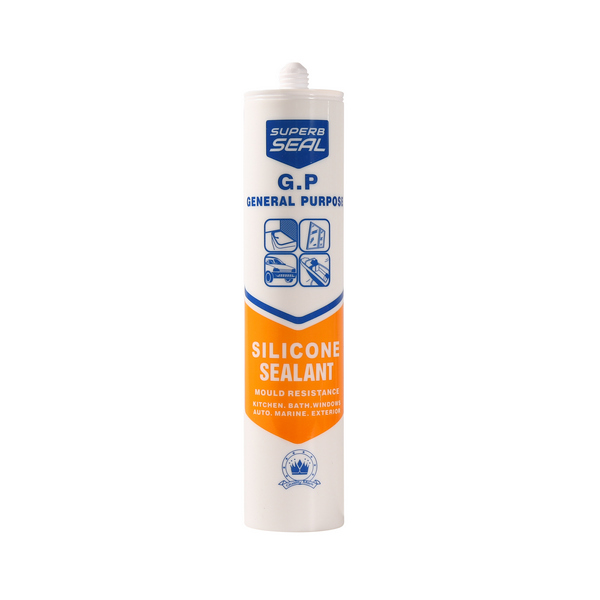 General Purpose Silicone Sealant |