
When Contractors Choose Grab Adhesives Over Fixings
How to use grab adhesives? Clean the surface, apply beads or dabs of high grab adhesive, press the item in place, and let it cure without disturbing the bond. Grab adhesives replace nails, screws, and brackets on surfaces where drilling causes damage or where speed matters. A quality product such as a no more nails high grab adhesive bonds timber, metal, ceramic, plasterboard, and many plastics. The key is matching the adhesive to the substrate and following the manufacturer’s open time and cure schedule.
Surface Preparation That Determines Bond Strength
Bond failure almost always starts at the surface. Remove dust, grease, silicone residue, and loose paint. Porous materials such as brick or bare timber need only light cleaning; glossy or sealed surfaces benefit from light abrasion and a compatible primer.
- Dry surfaces: Moisture under the bead weakens grab and extends cure time.
- Stable substrates: Do not bond over flaking paint, wallpaper, or crumbly plaster.
- Temperature range: Most grab adhesives cure best between 10 °C and 30 °C.
Taking ten minutes to prep saves hours of rework on cladding, skirting, or panel installation.
Applying Grab Adhesive for Full Contact
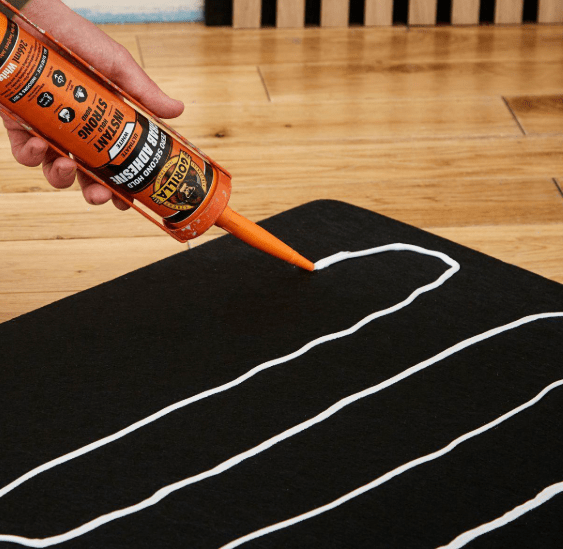
Load the cartridge into a heavy-duty caulking gun and cut the nozzle at a 45-degree angle. Apply the adhesive in continuous beads for flat panels or in spaced dabs for uneven surfaces. As a rule, one 290 ml cartridge covers roughly five linear metres at a six-millimetre bead diameter.
- Cut the nozzle size to match the joint width.
- Apply beads around the perimeter and through the centre of the panel.
- Press the item firmly into place and slide it slightly to spread the adhesive.
- Wipe excess product immediately with a cloth dampened in mineral spirits.
For timber battens or mirror boards, temporary bracing for the first hour prevents sagging. For heavy substrates, a mechanical aid during the skin-over period gives the best long-term hold.
Clamping, Curing, and Load Timing
Grab adhesives build initial tack within minutes but need time to reach full strength. Most products allow repositioning for ten to fifteen minutes. Full cure typically ranges from twenty-four hours for light loads to seventy-two hours for heavy fixtures.
- Initial grab: 5–20 minutes depending on temperature and bead size.
- Light loading: 12–24 hours.
- Full cure: 24–72 hours before exposing joints to stress or water.
If the job demands faster handling, choose a fast-grab hybrid adhesive and follow the data sheet for load ratings.
Cleaning and Storage Tips
Uncured adhesive wipes away with mineral spirits or a damp cloth. Cured adhesive must be cut or scraped away, so clean tools and drips immediately. Store cartridges upright in a cool, dry place with the nozzle sealed. Most products keep for twelve months unopened.
Grab adhesives reduce labour, eliminate drill holes, and speed up commercial fit-outs. For exterior work or wet areas, pair your high grab adhesive with a general purpose silicone sealant to seal edges against moisture. If you need a clean break line, cut cured beads carefully rather than ripping them from the substrate.
Related Products
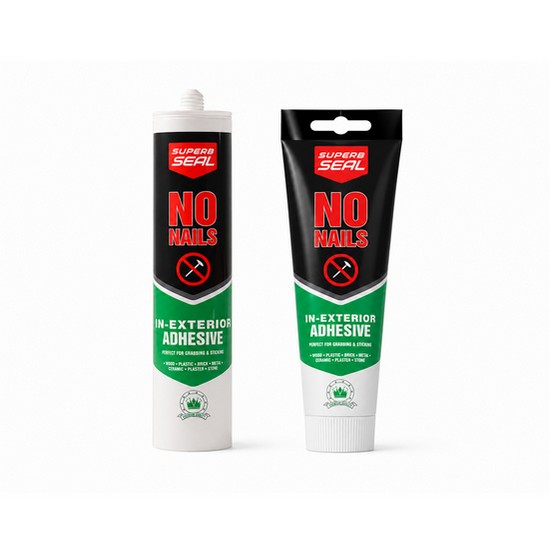 No More Nails High Grab Adhesive |
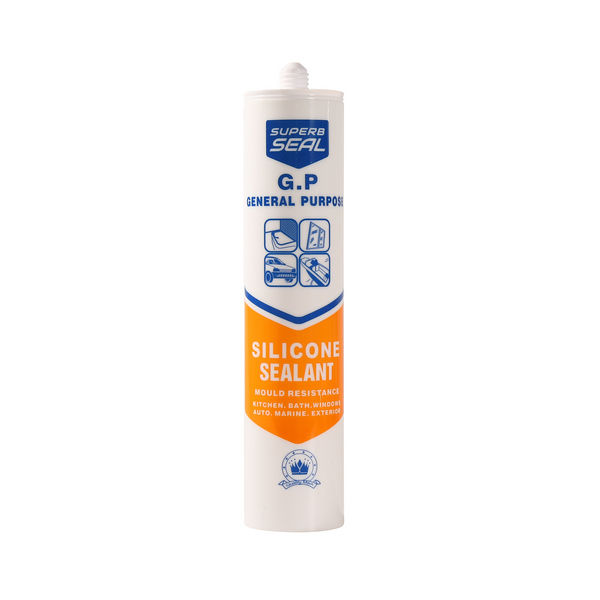 General Purpose Silicone Sealant |